

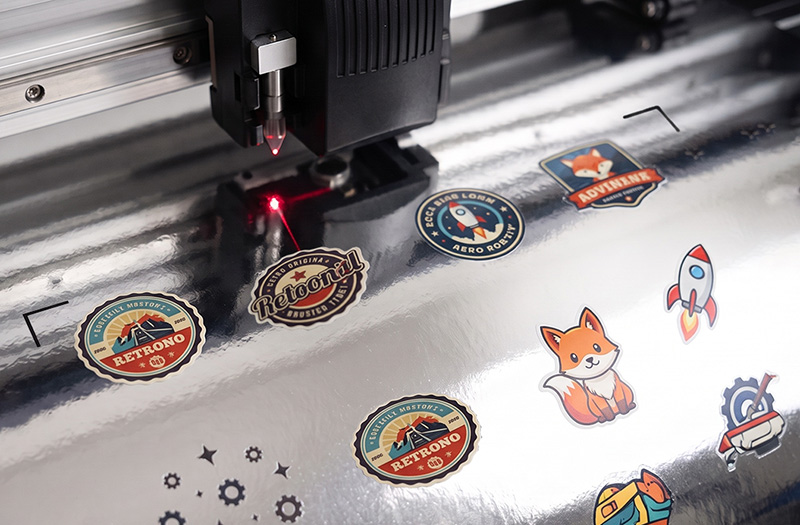
Mirror-finish chrome vinyl looks fantastic, but can be difficult to cut, because they often trigger a frustrating issue: registration mark errors. Your plotter’s optical sensor relies on high contrast to read black registration marks, but highly reflective chrome distorts the sensor's optical eye. The high shine causes the beam to bounce back, preventing the machine from distinguishing the black mark from the reflective background.
To get your plotter back on track, you need to reduce surface reflection over the registration marks so the optical sensor can read the contrast clearly. Try these six simple and effective methods:
1. Apply Matte Tape over the Marks
The fastest workaround requires standard office supplies. Place a small piece of matte, satin, or semi-opaque tape (such as standard Scotch Magic Tape) directly over each printed registration mark. The micro-textured surface of matte tape diffuses specular light reflection while keeping the black registration mark completely visible to the plotter's optical eye.
2. Darken Marks with a Matte Black Marker
Standard printer inks can leave a slight gloss finish on non-porous media like chrome vinyl. Trace or fill in your registration marks using a matte black Sharpie or marker. Darkening the ink absorbs more light and eliminates tiny reflective glares inside the mark itself.
3. Adjust Ambient Lighting Conditions
Optical sensors are sensitive to direct, high-intensity light. Bright overhead fluorescents, LEDs, or direct sunlight shining down on reflective chrome exacerbate glare. Try turning off overhead lights near your workstation or placing a piece of cardboard over the plotter carriage to shield the sensor from ambient light sources while it scans.
4. Lower the Sensor Sensitivity / Light Intensity
If your cutting plotter allows custom sensor adjustments in the menu settings, navigate to your machine options and lower the optical sensor’s light intensity or adjust the mark detection level. Decreasing sensitivity helps the plotter compensate for high-gloss backgrounds.
5. Increase the Registration Mark Size & Thickness
If you are designing the cut file artwork, adjust your mark settings before printing. Increasing the line thickness from 1 mm to 2 mm, or expanding the overall footprint of the mark, giving the sensor a higher margin of error to detect optical contrast.
6. Print Marks on a Solid White Background
If your printer is equipped with white ink, print a solid white square underneath each black registration mark. Blocking out the chrome reflectivity with an opaque white base layer creates the highest possible contrast ratio, allowing the optical sensor to read the marks effortlessly.
Click here for Graphictac's chrome printable:
Chrome silver and gold printable